
A short vertical clip is not edited the way a regular video is. In classic editing you have time: the viewer already chose to watch, so you can afford an intro, a breath, a slow entry into the topic. In short-form the viewer chose nothing — the video simply appeared in a feed, and their thumb is ready. Your first frame competes not with other clips, but with the urge to keep scrolling.
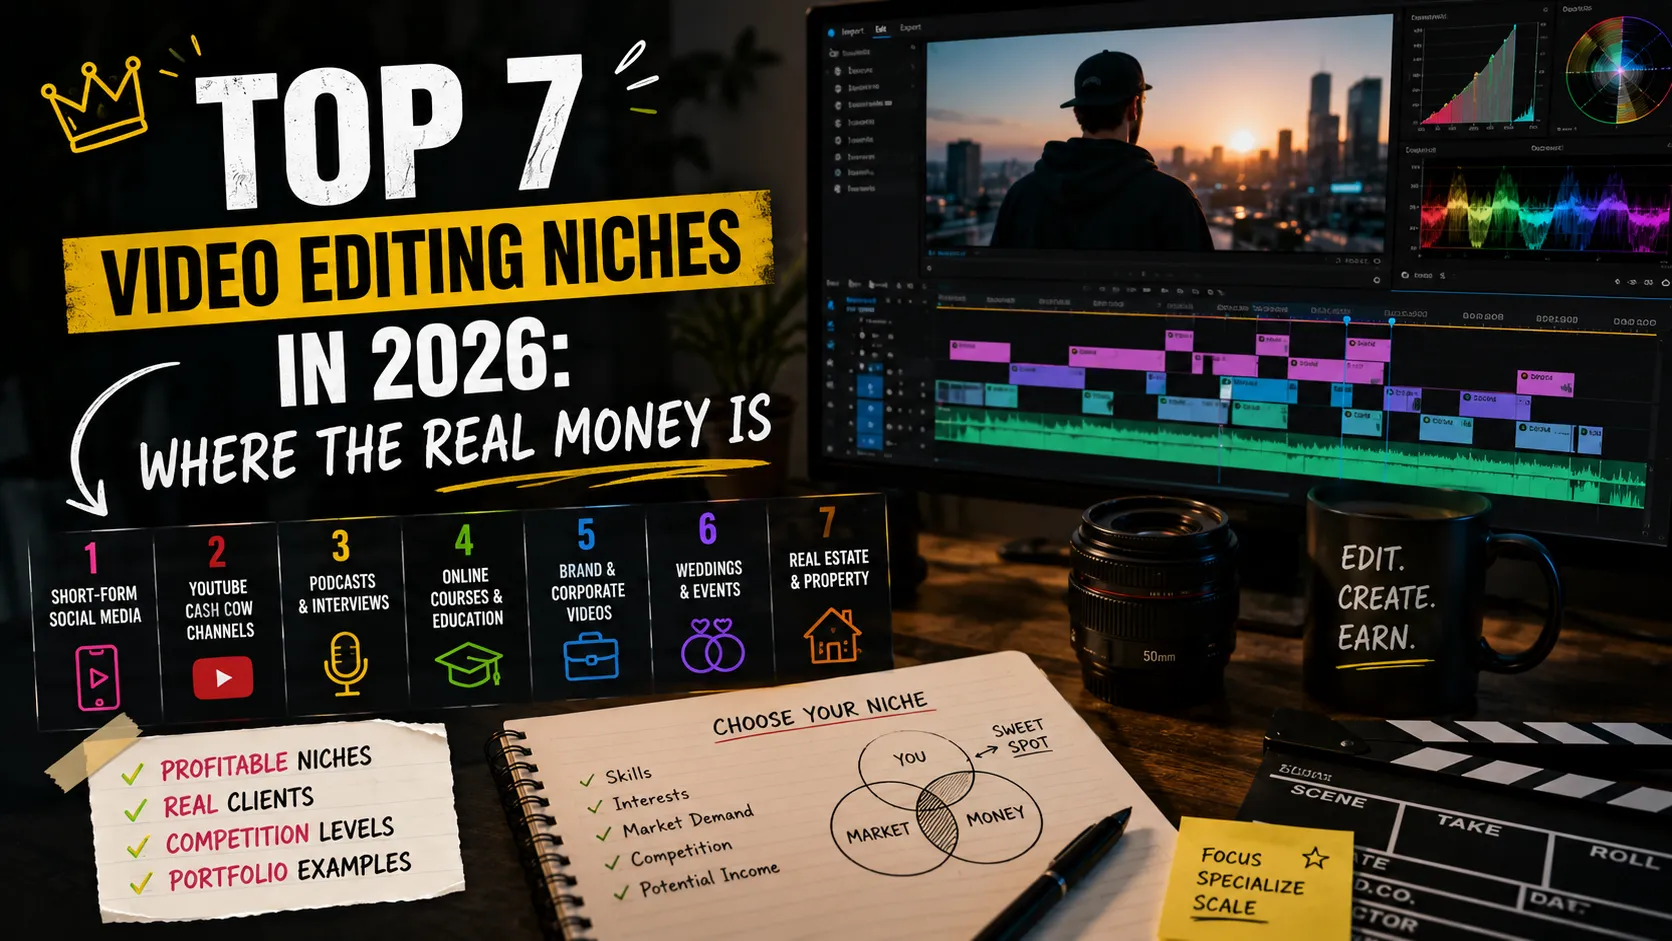
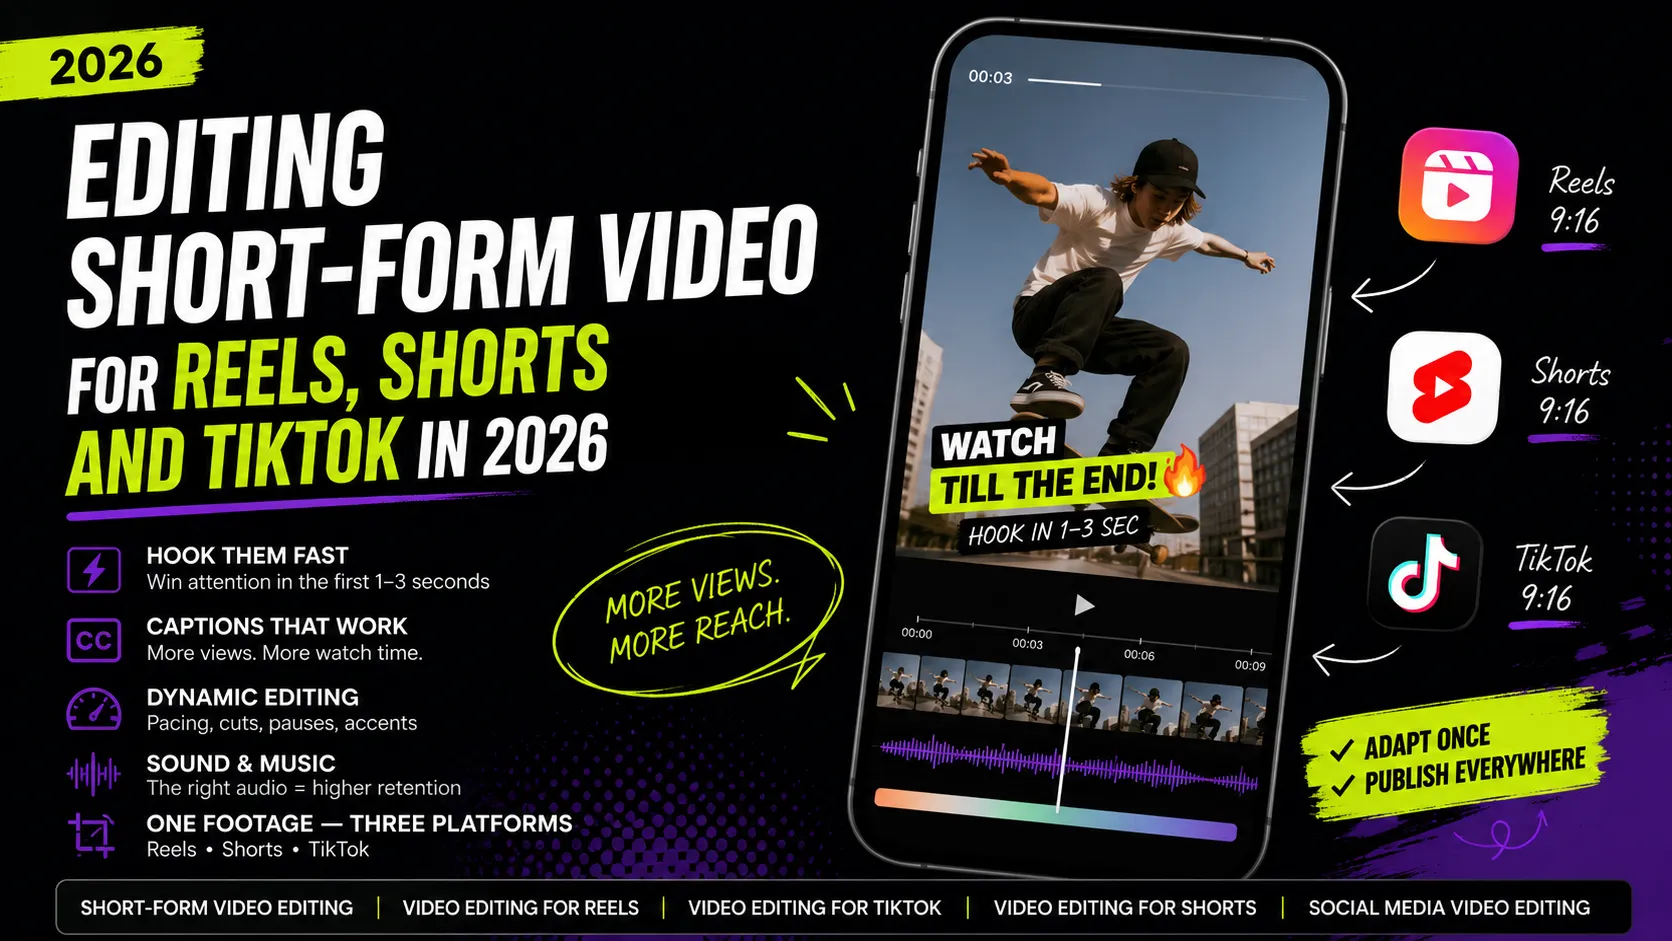
That is why short-form editing is a craft of its own, with its own rules: how to build the structure, when to cut, where to leave a pause, how to style captions, and how many effects are already too many. This article walks through those rules step by step, and then shows how to turn one piece of footage into versions for Reels, Shorts and TikTok without editing three times. If you are still choosing a direction, take a look at the breakdown of video editing niches as well.
How Short-Form Editing Differs
The difference is not length — it is how the viewer arrives at your video.
- No credit of trust. In a long video the viewer pressed play deliberately. In a feed they did not. Every second has to earn the next one.
- Vertical instead of horizontal. A 9:16 frame demands a different composition: bigger faces, larger details, less text.
- Sound often decides. Many viewers turn sound on specifically for short video — and many watch without it. The clip must work both ways.
- A loop instead of an ending. Short clips are often watched twice. An edit that loops cleanly earns more watch time from the same work.
- Retention beats beauty. Long video is judged on image quality; short video is judged on whether people watched to the end.
The practical conclusion is simple: in short-form you are not editing a story, you are editing an attention curve. Everything below serves that.
Anatomy of a Short Clip
Almost any working short clip, whatever the topic, breaks into four parts.
- Hook (0–3 seconds). One idea that plants a question in the viewer's head or shows the result immediately. This is not the place for "hi, my name is."
- Promise (3–6 seconds). Briefly state what the viewer gets: "three mistakes," "here is the before and after." This holds the people who already stopped.
- Body (6 seconds onward). The substance: steps, arguments, demonstration. This is where pacing and visual accents do the work.
- Ending. Either a clear takeaway or a loop — the last frame flows logically into the first and the clip gets watched again.
The beginner mistake is stretching part one and squeezing part three. It should be the opposite: minimum intro, maximum substance.
The Hook: What Actually Works
A hook is not a flashy effect — it is a reason not to scroll. A few types that consistently work:
- Result first. Show the final frame ("here is what came out"), then how you got there.
- A specific question. "Why do people drop off your videos?" — the viewer recognizes their own problem.
- Contradicting the obvious. "Captions won't save a bad edit" — the friction makes people stay.
- Motion in the first frame. A static shot of someone about to speak is the worst possible start. Open on an action already in progress.
- A visual anomaly. An unusual object, an unexpected angle, sharp contrast — something unlike the last five clips in the feed.
What kills a hook: a long logo intro, "hey everyone," a pause before the first word, a slow zoom into nothing, a three-second title card. All of it costs you half your audience before you have said anything.
A practical trick: finish the edit, then delete the first 1–2 seconds. In most cases the clip improves — because you removed exactly the run-up that felt necessary on the timeline.
Pacing: When to Cut
Pacing is the main tool of short-form editing, but "fast" does not mean "good." Correct pacing means no sagging, not mechanical cuts every half second.
- Cut pauses, not thoughts. Remove every breath, "uhh," and gap between sentences. That is what creates the feeling of sluggishness.
- Change the shot every 2–4 seconds. Not necessarily with a cut: a change in framing, a zoom, a b-roll insert, a text card all count. The eye needs something new.
- Cut on action. A cut in the middle of a movement is invisible; a cut between movements is visible and stumbles.
- Keep the pauses that work. Half a second of silence before a key point strengthens it. A pause is an accent, not emptiness.
- J- and L-cuts for speech. Audio from the next shot enters slightly before the picture (or the other way round) — the edit turns smooth with no transitions at all.
A simple test: watch the clip muted at double speed. If your eyes are bored, the pacing sags. If you cannot follow what is happening, the pacing is too choppy.
Captions: A Function, Not Decoration
A large share of viewers watch with sound, and a large share without it. For the second half, a clip without captions simply does not exist. The rules are simple and barely change between platforms:
- One or two lines, short phrases. Not a full sentence across the screen, but a phrase you read at a glance.
- Contrast is mandatory. Light text on a dark plate or with a stroke. White text on a bright background is read only by people who really want to.
- Sync. The word appears with the sound, not half a second late.
- Mobile-sized. Check on a phone, not a 27-inch monitor. What is readable for you may be tiny in a feed.
- Stable position. Captions jumping around the frame tire the eye. Keep one vertical level.
- Respect the safe zone. The top and bottom of the frame are covered by platform UI: avatar, handle, buttons, description. Text that lands there is never seen.
On generating captions automatically and where that saves hours, see the article on AI in video editing.
Sound: The Invisible Half of the Edit
A short clip rests on sound more than it seems. A few working principles:
- Edit to the rhythm. Cuts on the beat feel natural even when the music is quiet. It is the cheapest way to make an edit feel more expensive.
- Clean voice is the baseline. Noise reduction, level matching, gentle compression. Bad audio ruins a clip faster than mediocre picture.
- Sound design for accents. A short whoosh on a transition, a click when text appears, a muted hit on a scene change. Two or three sounds per clip is plenty.
- Music must not bury speech. Duck the music under dialogue and lift it between phrases.
- Consistent loudness across clips. If one of your clips is quiet and the next one blows out the ears, it reads as amateur. A common loudness normalization reference is EBU R 128.
Visual Accents Without Overload
Effects in short-form exist to hold the eye, not to look pretty. So the rule is: every effect needs a reason.
- Zoom on a key phrase. A punch-in underlines the important word — but not on every phrase, or the accent stops being one.
- Text cards. Pull the key idea out as separate text from the captions — that is what people remember.
- B-roll and inserts. Showing always beats telling: the timeline, the screenshot, the actual object.
- Speed. Speed up the routine part, slow down the payoff — a classic that still works.
- Arrows, highlights, circles. They direct attention exactly where you need it in a fraction of a second.
The overload signal is simple: if after watching you remember the effects and not the idea, there are too many effects.
Transitions: Fewer Than You Want
The classic beginner mistake is a transition on every cut. In professional short-form editing, 80–90% of cuts are plain cuts.
Transitions are justified in three cases: a change of location or topic, hiding a bad cut, or a stylistic device repeated across all your clips (so it works as your signature). Everything else is noise.
If you do use transitions, keep them short (3–8 frames) and consistent within the clip. Five different transitions in one video look like a preset demo, not an edit.
Vertical Framing and Safe Zones
9:16 is not a cropped horizontal frame — it is a different composition.
- Go bigger. What read well in 16:9 is often too small vertically. Shots need to be tighter.
- Faces in the upper third. The lower part of the frame is partly covered by UI and captions.
- Center for what matters. The edges of a vertical frame read worst on the move.
- Reframe from horizontal. If the footage is 16:9, do not just scale it — reframe on the subject, use pan inside the frame, or split into two zones (video on top, text or detail below).
- Check on a phone. A five-second habit that catches 90% of composition and text-size problems.
Current technical requirements are always worth verifying in the platforms' own help centers — Instagram, TikTok and YouTube document supported parameters there.
One Piece of Footage → Three Platforms
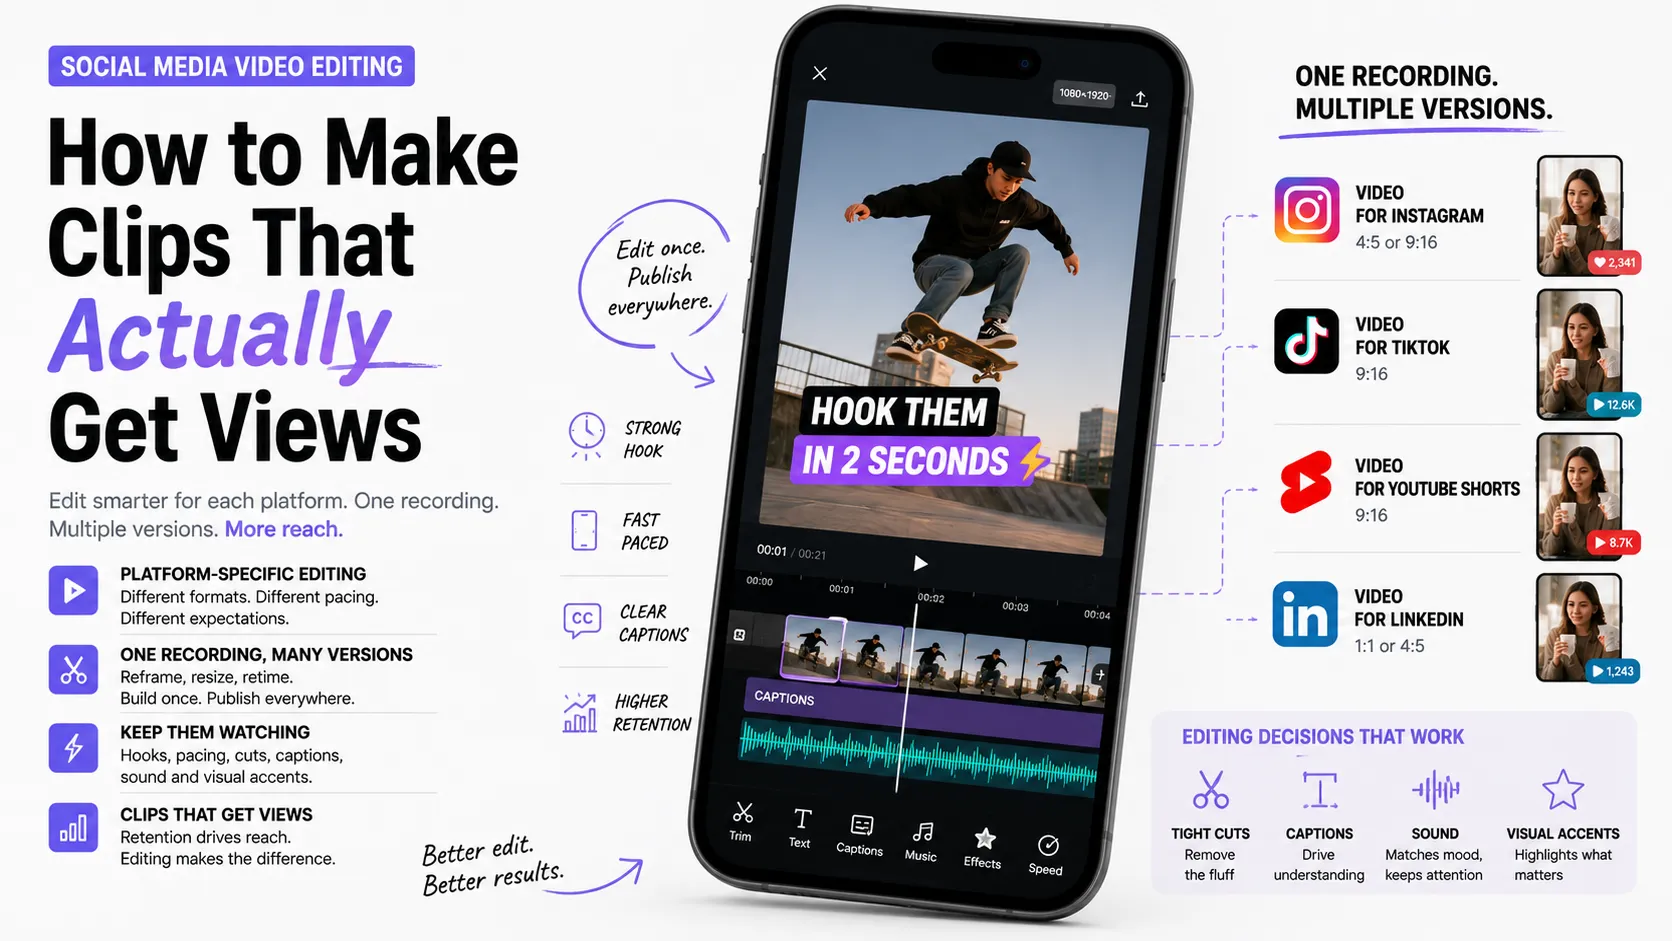
The biggest time saver in short-form is not editing faster, it is refusing to edit from scratch for each platform. The scheme: a master version plus minimal adaptations.
Step 1. Edit the master version. The tightest constraints are duration and safe zones. Edit to the strictest of them, and the rest becomes an adjustment rather than a rebuild.
Step 2. Keep elements on separate layers. Captions, text cards, logo, music — separate tracks. Then moving text up 100 pixels for another platform takes ten seconds, not a re-edit.
Step 3. Do not bake platform elements into the frame. Watermarks, "follow me on TikTok" captions, one platform's UI inside a clip for another — all of it reads as reposted third-party content.
Step 4. Adapt to platform context, not format. Technically a 9:16 clip fits all three. What differs is delivery:
- Instagram Reels — a stronger demand for visual polish: clean frame, tidy typography, deliberate style. The audience is used to a "made" look.
- YouTube Shorts — viewers often arrive from search and topic, so clarity and usefulness matter. A "question → answer" structure and a link to a longer video work well here.
- TikTok — the rawest, fastest format: livelier delivery, sharper pacing, less polish. An over-polished clip sometimes loses here to a simpler one.
Step 5. Export separate files. One file per platform with its own name — convenience and basic archive hygiene at once.
More on platform differences and rebuilding delivery for each is in Video editing for social media.
The Working Pipeline
The order of operations that saves the most time:
- Selection. Review the footage first and mark only usable takes. Editing "as you watch" is the slowest possible method.
- Rough cut. Build the story with no effects: only the right pieces in the right order. This is where you learn whether the clip works at all.
- Pause cleanup. Trim everything between words. This step alone often shortens a clip by a third.
- Sound. Voice, music, ducking. Do this before visual effects — the pacing depends on audio.
- Captions. Automatic first, then a manual pass: names, terms, punctuation.
- Visual accents. Zooms, cards, b-roll, highlights — only where there is a reason.
- Color. One simple base grade, identical across all your clips, already reads as a recognizable style.
- Final check on a phone. With sound and without.
- Export versions. Master plus adaptations.
This order prevents the most common waste — spending an hour on effects in a clip you then have to re-cut because the structure did not work.
Export Basics
Without excess detail, a baseline reference:
- Resolution: 1080×1920 (9:16). More is usually pointless — the platform recompresses anyway.
- Frame rate: the same as the footage (most often 30 or 60 fps). Do not mix frame rates inside one clip.
- Codec: H.264/H.265 in an MP4 container — universal across platforms.
- Audio: AAC, stereo. What matters is consistent loudness, not bitrate.
- Bitrate: enough that gradients and motion hold up; excess does not survive platform recompression anyway.
Exact per-platform recommendations change, so verify before publishing a big project. Export settings for specific software are documented by the vendors — for example Adobe Premiere Pro or DaVinci Resolve.
Common Mistakes
Clips usually fail not because of anything complicated, but because of one of these:
- A weak start. The first two seconds are a logo, a greeting, or silence.
- Pauses that run too long. The footage was never cleaned of breaths and gaps; the clip breathes where it should be running.
- Effect overload. A transition on every cut, shake, flashes — attention scatters.
- Unreadable captions. Too small, no contrast, out of sync, or sitting under the platform UI.
- No single idea. A clip about three things at once is remembered for none of them. One video, one point.
- A stretched ending. A long goodbye and a subscribe request after the substance is already delivered.
- Horizontal footage used as is. Black bars top and bottom signal the video was not made for this platform.
- Inconsistent loudness and style across clips. Nothing is recognizable; every clip looks like someone else's.
Pre-Publish Checklist
A one-minute pass:
- Do the first 2 seconds hold attention with sound off?
- Is the single main idea clear on first watch?
- Is there any pause longer than half a second without a reason?
- Are captions readable on a phone and clear of the UI zone?
- Is loudness the same as in your previous clips?
- Does every effect have a reason rather than existing "because"?
- Does the last frame either conclude or flow into the first?
- Is the file exported in 9:16 with no black bars?
Key Takeaways
- Short-form is edited to the attention curve, not the plot: the first seconds decide the clip's fate.
- Structure: hook → promise → substance → takeaway or loop.
- Pacing comes from removing pauses and changing the shot every 2–4 seconds, not from cutting fast for its own sake.
- Captions are functional: contrast, sync, safe zone.
- Sound does half the work: clean voice, cutting to rhythm, consistent loudness.
- Effects and transitions in measured doses, each with a reason; most cuts are plain cuts.
- One piece of footage → a master version → adaptations for Reels, Shorts and TikTok, not three separate edits.
FAQ
How long should a short clip be?
Exactly long enough to land the idea with no filler. Padding a clip to hit a length is worse than making it short: an abandoned long clip loses to a fully watched short one. For most topics 15 to 45 seconds is the reference; longer is justified when the content genuinely earns it.
Can I publish the same clip to Reels, Shorts and TikTok?
Technically yes, and it basically works. But exporting separate versions is better: remove platform watermarks, adjust text position for the safe zones, and shift the delivery slightly. That is a few minutes of work, and the clip then reads as made for that specific platform.
How long does editing one short video take?
It depends on complexity, but short-form is exactly where an assembly line pays off: prepared caption templates, color presets, a fixed sound palette. The first clip in a new style may take hours; the tenth in the same style takes far less. That is why editors in this niche sell clips in packages.
Do I need expensive effects and plugins?
No. Retention comes from structure, pacing, sound and captions — all available in the basic features of any editor. Plugins speed up routine work; they do not rescue a weak structure.
What to Put in Your Portfolio
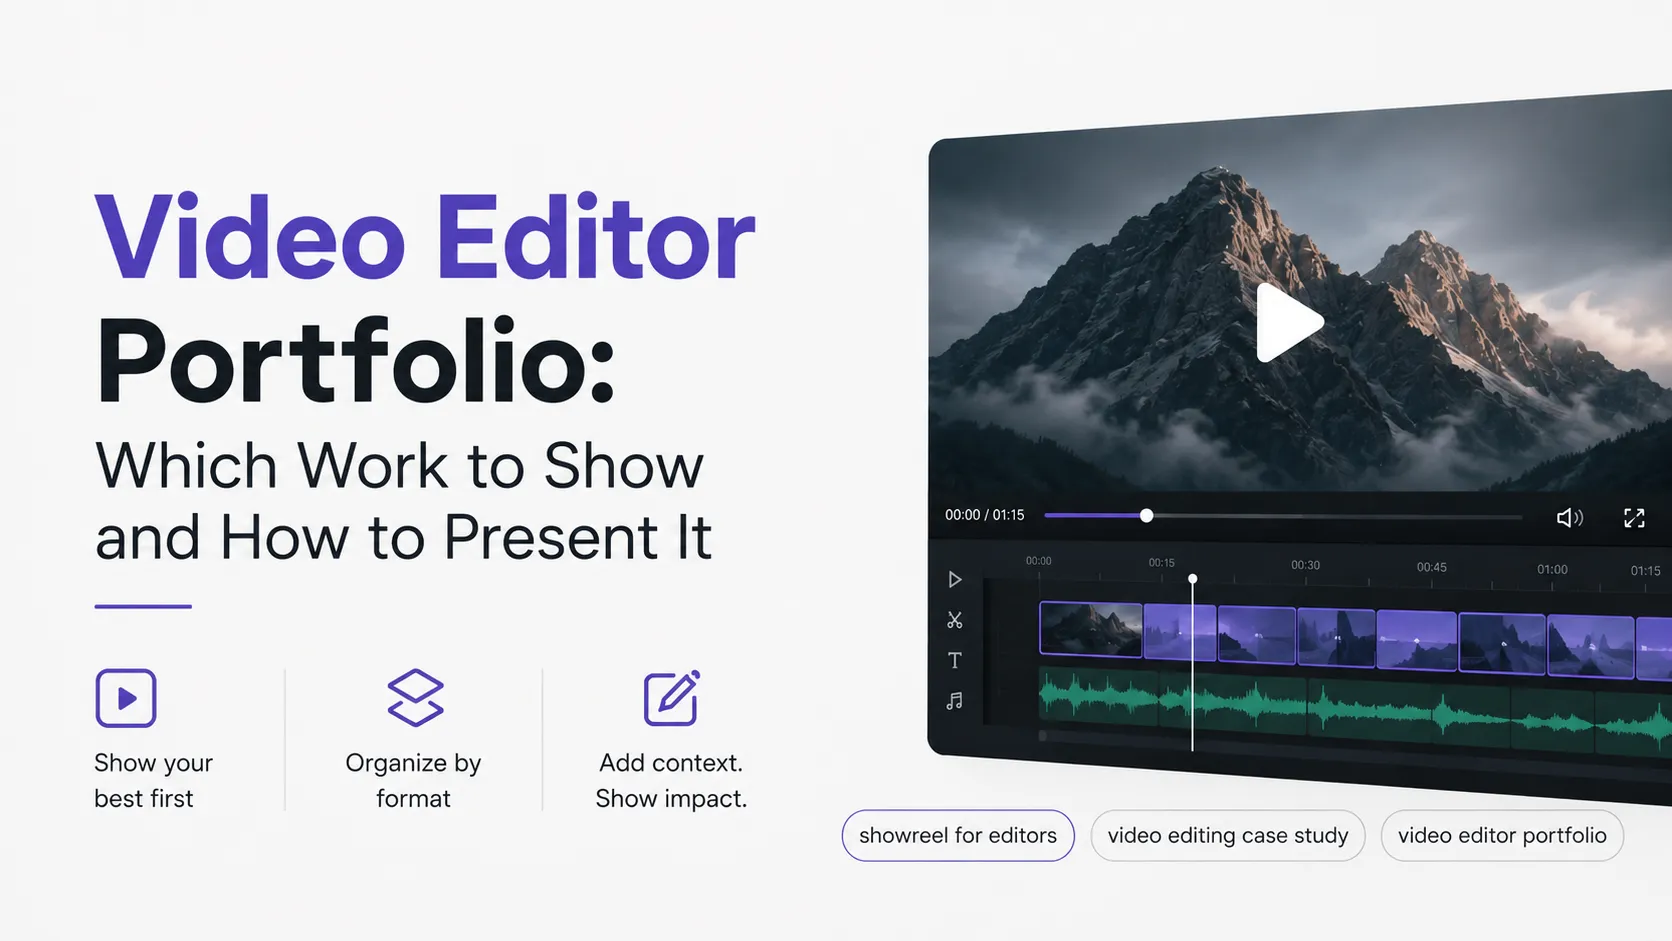
For short-form, what works in a portfolio is not a pretty clip but proof that you can hold attention. Collect 5–8 short videos with different hook types and different caption styles. The ideal case study is "one piece of footage → three platforms": show the source long video and what came out of it. If you have retention or view numbers, add them — they convince far better than any description.
How to frame such a case as "problem → solution → result" is covered in How to make a portfolio. Tag your work with project tags, add the matching skills to your profile, and see how other specialists present video work.
Ready to act?
- Create your own portfolio: https://searchtalent.dev/en/projects/new
- Skills and technologies catalog: https://searchtalent.dev/en/talents/skill
- Browse other specialists' projects: https://searchtalent.dev/en/projects
- More articles: https://searchtalent.dev/en/articles